Expert Cleaning Service Winnipeg: Your Residence's Buddy
Wiki Article
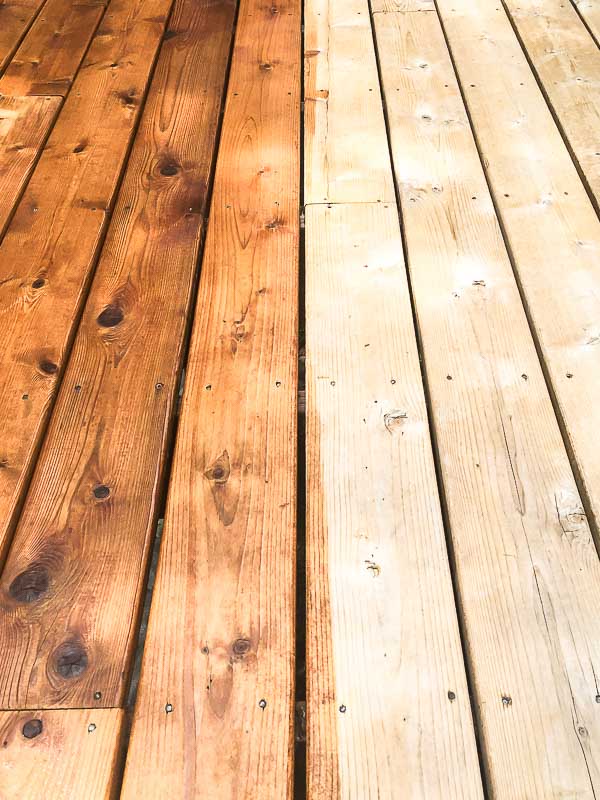
Deck Discoloration Made Easy: Step-by-Step Guide for DIY Enthusiasts
Are you a DIY lover looking to offer your deck a fresh brand-new look? In this detailed overview, we will certainly stroll you via the process of deck staining. With our easy-to-follow directions, you'll be able to transform your deck into a lovely exterior area in no time.Preparing the Deck Surface
Before you start discoloring the deck, make certain you're effectively cleaning up and fining sand the surface area. This action is important in guaranteeing a smooth as well as resilient finish. Begin by eliminating any furniture or plants from the deck. Sweep away any kind of loose dust or debris using a mop. After that, use a power washer or a pipe with a high-pressure nozzle to completely clean up the deck. Pay close interest to locations with stubborn spots or mold and mildew, and also make use of a deck cleaner or a mixture of warm water as well as light detergent to treat them. After cleansing, allow the deck to completely dry entirely for a minimum of 24 hr.As soon as the deck is completely dry, it's time to sand the surface area. Get hold of a handheld orbital sander or a sanding block, and start fining sand the deck boards in the instructions of the wood grain.
Picking the Right Discoloration
When choosing the appropriate discolor, you'll want to consider the type of timber you're working with. Different sorts of timber have different qualities that can impact how well they soak up the discolor. Softwoods, like pine or cedar, tend to soak up discolor quicker than hardwoods, such as oak or mahogany. Maintain this in mind when picking your discolor to ensure you attain the preferred surface.Along with the kind of wood, you should likewise consider the shade you want to accomplish. Stains can be found in a variety of tones, from light to dark, and can significantly transform the appearance of your deck. If you're wanting to enhance the all-natural color of the wood, pick a transparent or semi-transparent tarnish. These allow the wood grain to reveal through while adding a refined hint of shade. For a more remarkable result, choose for a strong or nontransparent stain, which will totally cover the timber and supply a vibrant, uniform color.
Lastly, think of the level of security you desire for your deck. Discolorations with greater degrees of pigment tend to offer better security versus UV rays and also dampness. If your deck is revealed to harsh weather, it deserves purchasing a discolor with included safety top qualities.
Cleansing and also Fixing the Deck
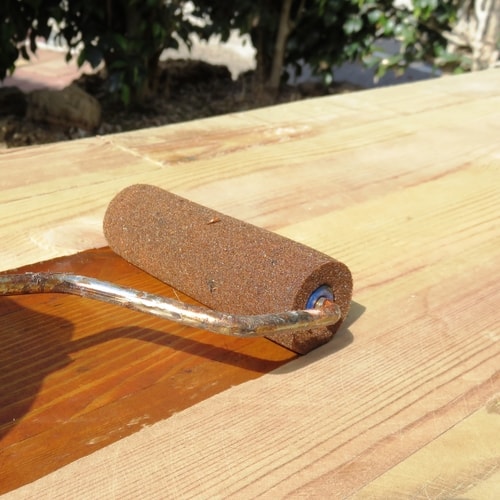
Using the Stain
Finishing Touches and Maintenance Tips
After using the last layer of stain, it's crucial to frequently tidy and seal your deck to keep its beauty as well as secure it from the components. Choose a high-quality sealant that is especially designed for decks and use it according to the maker's instructions. It's recommended to apply a new coat of go to website sealer every 1-2 years to maintain your deck looking its ideal.
Verdict

Report this wiki page